CLICK HERE FOR FREE BLOG LAYOUTS, LINK BUTTONS AND MORE! »
Showing posts with label breakfast. Show all posts

Tuesday, January 22, 2013

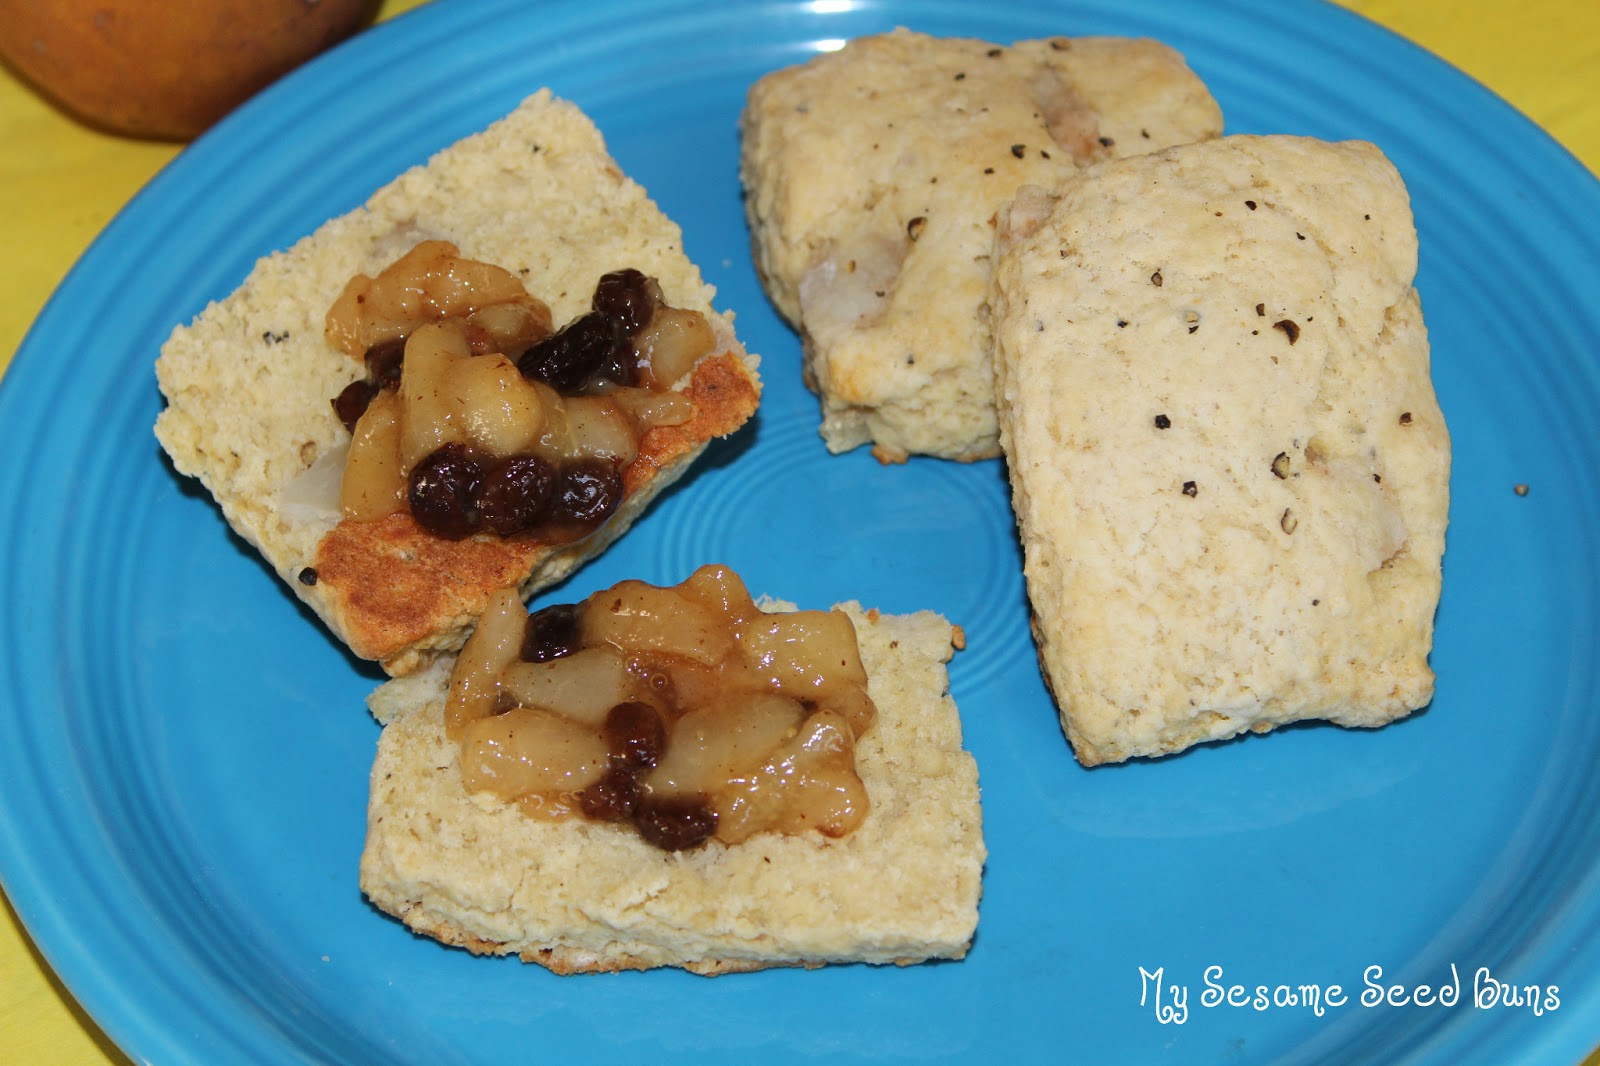
Get Your Chef On ~ Peppered Pear Scones with Pear Conserve


I'm was so happy to learn that the required ingredient for this month's Get Your Chef On challenge, hosted by by Julie at White Lights on Wednesday, and Jen from Four Marrs and One Venus is PEARS!

Earlier this month, I participated in the Spiked! Recipe Challenge, where I chose to make Champagne Poached Pear No Bake Cheesecake because of the over abundance of Bosc Pears I have in my fridge. Well, here I am a little over a week later, and I've barely made a dent in the amount of pears I have! I know, I know....this is a good problem to have!

Since I made a dessert for the Spiked! Recipe Challenge, I wanted to make a savory dish for this challenge. Peppered Pear Scones can be eaten as is, or with the Pear Conserve, which elevates the savory scones to the next level! I absolutely love the combination of savory and sweet! Yum!

I know some of you out there are asking yourself, "What's Conserve?" I asked myself this very same question. I knew it had to be a topping of some sort, but wasn't sure of the exact definition. Conserve is a preserve made from a mixture of fruit or vegetables. There, now you know!

Preserves usually contain pectin, so that the mixture can gel. I ended up using less than the original recipe called for, and all turned out fine. I just had to reduce the mixture down a bit. I also replaced the sugar in the conserve with Splenda!

The source of the original recipe is here from Better Homes and Gardens.


White Lights on Wednesdays


Peppered Pear Scones with Pear Conserve 


1 3/4 cups all-purpose flour 
1/3 cup packed brown sugar
2 teaspoons baking powder  
1/2 teaspoon whole black peppercorns, cracked
1/4 teaspoon baking soda  
1/4 teaspoon salt
1/3 cup butter 
2 eggs 
1/4 cup grated Parmesan cheese 
1/4 cup fat-free milk  
1/2 cup chopped, peeled fresh pear
Peppercorn whole black peppercorns, cracked (optional)
1 cup Pear Conserve

Preheat oven to 375 degrees. In a large bowl stir together flour, brown sugar, baking powder, pepper, baking soda, and salt. 


Using a pastry blender, cut in butter until mixture resembles coarse crumbs.  Make a well in the center of the flour mixture.


In a small bowl beat eggs lightly; stir in cheese and milk. 


Add the milk mixture all at once to the flour mixture. 


Using a fork, stir just until moistened. Fold in pear.

Turn out dough onto a floured surface. Quickly knead dough by folding and gently pressing for 10 to 12 strokes or until nearly smooth. 


Pat or lightly roll the dough into an 8-inch square. Cut into 16 squares.

Place scones 1 inch apart on an ungreased baking sheet. If desired, sprinkle with additional cracked pepper.


Bake in the preheated oven for 10 to 12 minutes or until golden. Cool on the baking sheet for 5 minutes. Transfer scones to a wire rack. Serve warm. If desired, serve with Pear Conserve.


This recipe makes 16 servings. If you are following Weight Watchers, each scone is 3 Points Plus. With 1 heaping tablespoon of Pear Conserve, each serving is 4 Points Plus.


Pear Conserve


2 1/2 cups chopped, peeled fresh pears
1/2 cup water  
3 tablespoons lemon juice  
1 - 0.4 ounce package regular powdered fruit pectin ($1.59 at my grocery store)
1 cup Splenda
1/2 cup raisins  
1/4 teaspoon ground cinnamon 

In a large saucepan combine pears, water, and lemon juice. 


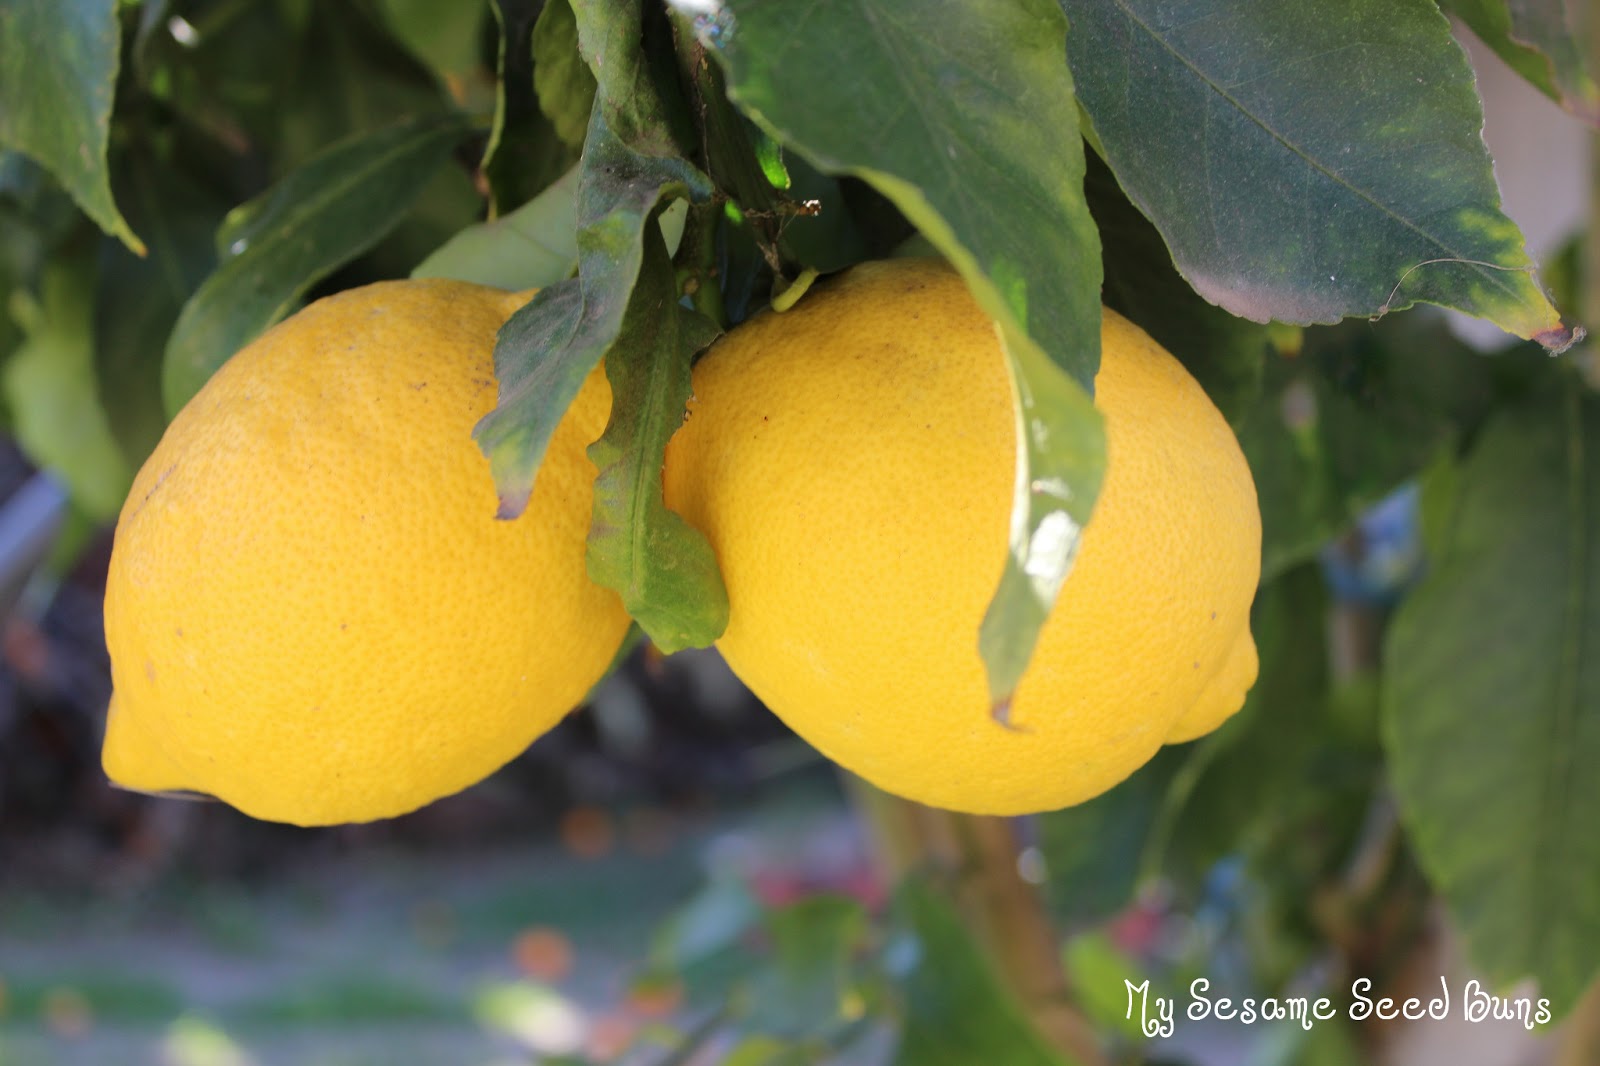
From the tree in my backyard


Bring to a boil; reduce heat. Simmer, covered, for 10 minutes. Stir in pectin. Bring back to boil, stirring constantly. Stir in Splenda and golden raisins. Return to a boil. Boil for about 10 minutes, stirring occasionally. Remove from heat; stir in ground cinnamon. Cool slightly. Store in an airtight container.


I link up to these great parties!


Print Friendly and PDF
Pin It!

Tuesday, January 1, 2013

Skinny Cranberry Scones


Happy New Year everyone! I hope that everyone had a fun and safe New Years Eve.

Okay, so I'm gearing up to get back on the weight loss track. I've been working the Weight Watchers program on and off, since giving birth to a baby girl in May, as a gestational surrogate. I haven't done too badly(I've lost all my pregnancy weight,) but was "fluffy" before getting pregnant, so I still have more weight I would like to lose.

I say "gearing up" because my family and I are leaving to go to Disneyland on Thursday for 3 days. I don't plan on counting points while at Disneyland, so I won't officially start back on Weight Watchers until Monday Jan.7th. 

Getting back on track is very important to me. Not only for my health, and to be a good role model for my kids (I have one skinny mini & one chunky monkey,) but I'm keeping my fingers crossed that I'll have some exciting news to share with all of you in a couple of months, so I need to lose the weight! Darn you holiday cookies! It's so hard to eat just ONE!

This Skinny Cranberry Scones recipe is adapted from a recipe I found on Pinterest via Skinny Taste. I had leftover buttermilk from making Fried Ravioli as a Christmas day snack, so I searched Pinterest and came across Gina's recipe for Skinny Chocolate Chip Buttermilk Scones. When I asked my husband, if he would eat these, he told me that scones should have dried fruit, not chocolate chips! His mom must have made them with raisins growing up, so that is what he was used to, I guess? I humored him, and substituted the chocolate chips for dried cranberries!

Skinny Cranberry Scones 

3/4 cup cold reduced fat buttermilk
1/4 cup sugar
2 tsp vanilla extract
1 large egg
1 cup all purpose flour 
1 cup white whole wheat flour 
1 tbsp baking powder
1/2 tsp salt
3 tbsp chilled butter (must be cold) cut into small pieces 
3/4 cup Ocean Spray dried cranberries
cooking spray
1 large egg white, lightly beaten
1 1/2 tbsp sugar


Preheat oven to 375°. Combine the first four ingredients in a medium bowl, stirring with a whisk. Spray baking sheet with cooking spray.

Combine flour, baking powder, salt, in a large bowl, stirring with a whisk. Cut in chilled butter with a pastry blender, or you could use 2 knives, until the mixture resembles coarse meal. Gently fold in dried cranberries. Add milk mixture, stirring just until moist.

Place dough onto a floured surface and knead lightly four times with floured hands. Form dough into an 9-inch circle onto baking sheet, about 3/4" thick. Using a knife, cut dough into 8 wedges all the way through.

Brush egg white over dough and sprinkle evenly with sugar. Bake until golden, about 18-20 minutes, depending on your oven. Serve warm.


Makes 8 servings. If you are following Weight Watchers, each scone is 6 points plus.


I link up at these great parties! Print Friendly and PDF
Pin It!

Tuesday, December 25, 2012

Cinnamon French Toast Bake


I was watching Cooking Channel a few days ago, hoping to come up with an idea for Christmas morning breakfast. From The Kitchens of....with Brigitte Nguyen came on with several recipes from Pillsbury. Her special guest was our very own Jenny Flake from Picky Palate, so of course I paid close attention!

This recipe is delicious and super easy! It came together in no time at all. It has all the cinnamon goodness of a cinnamon roll, and the soft custard like texture of the inside of french toast. And, the best of both worlds when it come to toppings, icing and maple syrup. Yum!

I only used 1/2 c of Pecans, sprinkling on only half of the dish because my husband and children don't like nuts. Also, this dish is plenty sweet without the powdered sugar and additional 1/2 c of maple syrup. There's plenty of syrup at the bottom of the dish to spoon over the individual servings.

Here is the link from Cooking Channel.

 Cinnamon French Toast Bake

1/4 cup butter, melted
2 (12.4-ounce) cans Pillsbury refrigerated reduced fat cinnamon rolls with icing
6 eggs
1/2 cup heavy whipping cream
2 teaspoons ground cinnamon
2 teaspoons vanilla 
1 cup chopped pecans
1 1/2 cup maple syrup
Icing, from cinnamon rolls package
Powdered sugar, for dusting (Optional)


 Heat the oven to 375 degrees F. Pour the melted butter into an ungreased 13 by 9-inch (3-quart) glass baking dish.

Separate both cans of dough into 16 rolls and set the icing aside. Cut each roll into 8 pieces and place the pieces over the butter in the dish.

In medium bowl, beat eggs. Beat in the heavy cream, cinnamon, and vanilla until well blended. Gently pour the mixture over the roll pieces. Sprinkle with pecans and drizzle with 1 cup maple syrup.

Bake 20 to 28 minutes or until golden brown. Cool 15 minutes.

Meanwhile, remove covers from cinnamon bun icing and microwave on Medium
(50-percent), 10 to 15 seconds or until thin enough to drizzle.

Drizzle the icing over top and sprinkle with powdered sugar. If desired, spoon the syrup from the dish over the individual servings. Serve with the remaining 1/2 cup maple syrup, if desired.

The recipe makes 12 servings. If you are following Weight Watchers, each serving with nuts is 11 points plus, and each serving without nuts is 9 points plus. The picture of the plate below shows 2 servings.


Merry Christmas!
Print Friendly and PDF
Pin It!

Saturday, December 22, 2012

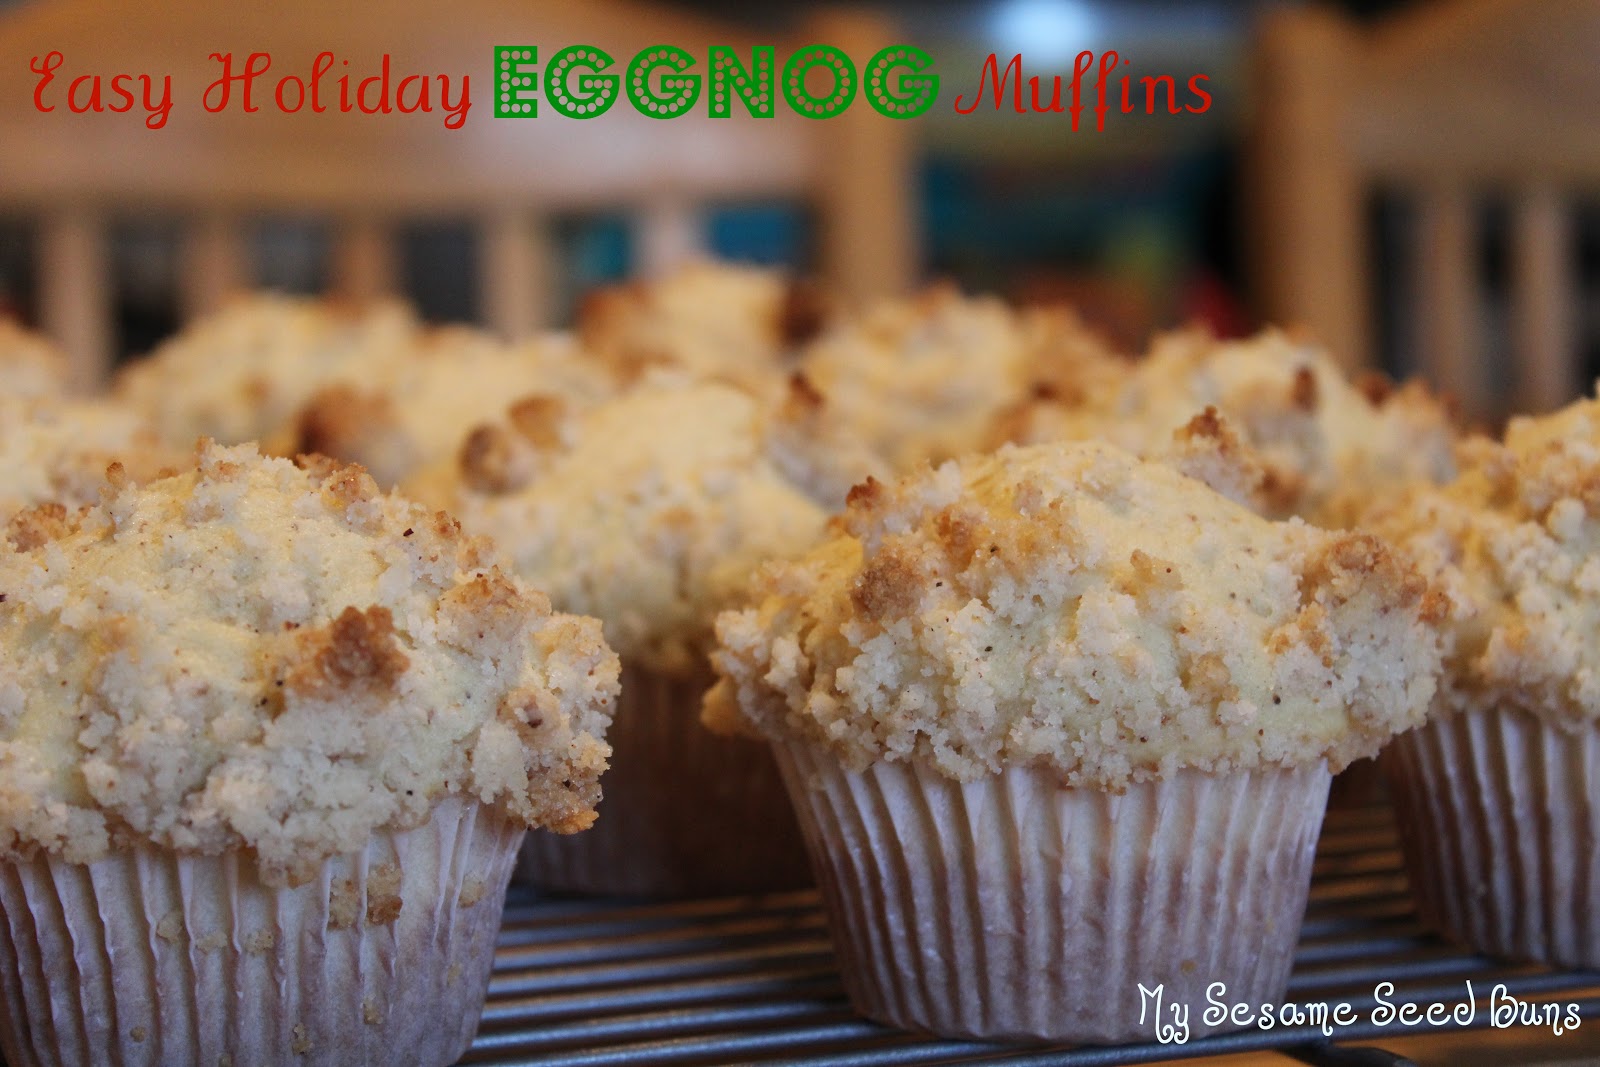
Easy Holiday Eggnog Muffins


Hello Everyone! Welcome to my new blog My Sesame Seed Buns. This is officially my first post, I hope you enjoy it.


I've been on real kick lately to use items I have stored in my pantry, fridge and freezer. Things that have been sitting there FOREVER. With the new year quickly approaching, I want out with the old and in with the new! I love to buy items that are on "Manager's Special," even though I have no specific use for them, and they just sit there unused.

Well, I bought 2 half gallons of eggnog, aka "Christmas Milk" in our household. My 4 year old normally loves eggnog, however these clearanced bottles were Vanilla flavor, so she said she didn't like it?!? My husband went through the first half gallon no problem. But, when it came time to open the second half gallon, it was a couple of days past the "sell by" date. Now, if it were me, I wouldn't hesitate, however my husband is weird about sell by dates and expiration dates, so he wasn't drinking it! Grrr...

I wasn't about to let perfectly good eggnog go to waste, so when I saw this recipe for Easy Holiday Eggnog Muffins on King Arthur Flour, I decided to crack it open and give it the "smell test."  It passed the test, so I made a batch of these delicious muffins. The flavor of the creamy eggnog really comes through, even without using eggnog flavoring. Where do you even buy this? I've never seen it, but have never really looked. I felt my muffins were a little dry, so if I make them again, I pull probably reduce the cooking time by a couple of minutes.

For anyone following Weight Watchers, each muffin is 7 points plus.


Easy Holiday Eggnog Muffins

Batter
1/4 cup butter
3/4 cup sugar
2 large eggs
2 1/2 cups King Arthur Unbleached All-Purpose Flour
2 teaspoons baking powder
1 teaspoon ground nutmeg
1/2 teaspoon salt
1/4 teaspoon eggnog flavor or 1 teaspoon vanilla
1 1/4 cups eggnog or half and half                     

Topping
1/2 cup sugar
1/2 cup King Arthur Unbleached All-Purpose Flour
1/2 teaspoon nutmeg
1/8 teaspoon eggnog flavor, optional
3 tablespoons butter, melted

Preheat the oven to 425°F. Line a muffin tin with 12 paper or silicone muffin cups, and grease the cups with non-stick vegetable oil spray; this will ensure that they peel off the muffins nicely.

In a medium-sized mixing bowl, cream together the butter and sugar till smooth. Add the eggs, beating for several minutes and scraping the bowl, till the mixture is smooth and light colored. Beat in the baking powder, nutmeg, salt, and eggnog flavor or vanilla.

Stir the flour into the butter mixture alternately with the eggnog or half and half, beginning and ending with the flour and making sure everything is thoroughly combined. Spoon the batter evenly into the prepared muffin cups.

Stir together all of the topping ingredients JUST till crumbly. Stir gently, and don't over mix; you don't want to turn this crumbly topping into a solid mass. Sprinkle the topping over the muffins.

Bake the muffins for 20 minutes, or until they're a pale golden brown. Remove them from the oven, and serve warm, or at room temperature.
 
Yield: 12 muffins.


Print Friendly and PDF
Pin It!